Rendering fat from animals was very common in the 1800s and considered a necessary staple in any kitchen. In the early 1900s Proctor and Gamble introduced Crisco, which is made from hydrogenated oils. It didn’t happen overnight, but after a concerted PR effort by Proctor and Gamble lard got a bum rap with consumers as being “bad for you”. Lard is actually considered a healthy fat in moderation, while hydrogenated oils have since been deemed unhealthy.
Here we will talk about rendering lard, which is hog fat. Tallow is beef fat. I personally prefer hog fat because of less odor and isn’t as greasy. Hog fat can be obtained from your local butcher, or if you process your own you can cut that when working up your pig.
There are two types of lard to use from the pig, leaf lard and fatback. Leaf lard is the purest and best for pastries and such. When rendered down it will be white and essentially odorless. It comes from around the kidneys and other organs. Fatback comes from the back of the pig, the shoulder and rump. This is the fat just under the skin. When fatback is rendered it has a slightly yellow tint and has a pork taste and odor.
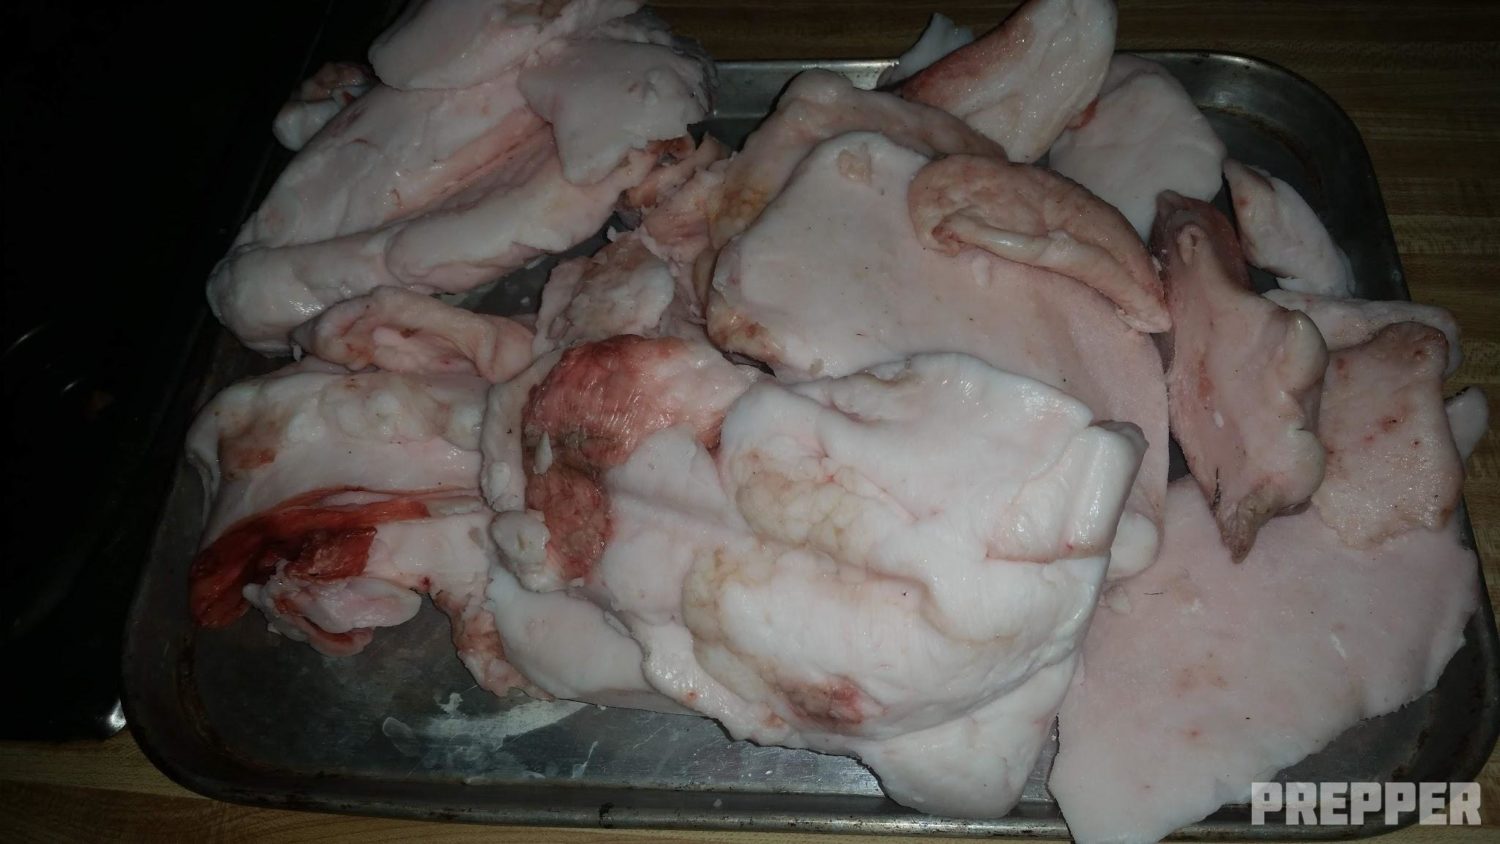
These are big chunks of fat ready to be cut up to start rendering.
Uses For Lard
- Canning meat
- Baking or frying
- Soap making
- In place of shortening, butter, or oil
- Season cast iron
- Burning in oil lamps
- As a hand balm to prevent or treat chapping
Lard has a high smoke point, which means it doesn’t oxidize when you heat it up. Since oxidation has been linked to cancer, the high smoke point makes lard ideal for cooking with.
Lard also has a high melting point, making it good for pie crusts and pastries. It also makes for some delicious fried foods.
Items Needed For Rendering
- Supply of pig fat
- Knives for cutting up fat
- Canning jars or chosen container for storage
- Cheesecloth and a strainer
- Heat resistant bowl to strain into
- Cast iron or slow cooker for rendering down
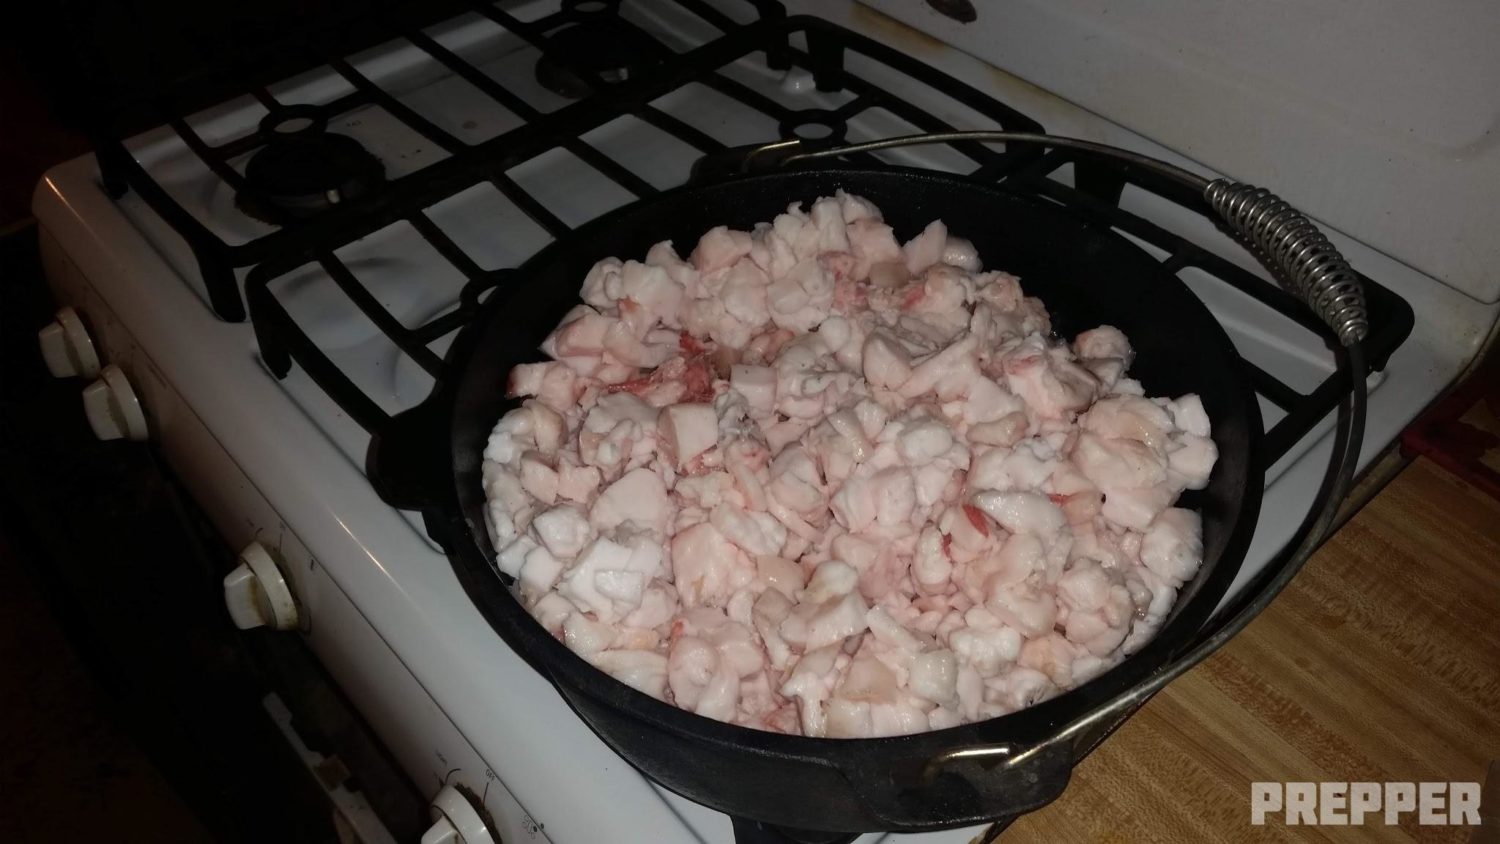
This is the fat all chopped up and in the pot to start rendering down.
Lard sourced from a pasture-raised pig is better than a commercially raised hog, since the fat is where all of the feed concentrates and such are stored.
Rendering The Lard
- Obtain the fat from your source.
- Freeze the fat.
- Dice the fat as small as you can as this makes rendering it faster and you will get more lard from it. You can also grind it or chop in a food processor.
- Place the lard in a pot, skillet, or slow cooker (see below).
- Leave the lid off to let moisture escape. If water stays in, it can cause spoilage.
- Allow to cook for several hours, stirring every 30 minutes or so and checking on it to shrink down and start to turn brown.
- When the protein pieces, the cracklins, are brown and shriveled up pour the lard through a strainer into a heat resistant bowl.
- Now strain through a cheesecloth tripled over to be sure to get all of the particles.
- Strain, strain, strain. I can’t stress this enough. This is so that it is pure.
- Let it set out so it can firm up at room temperature.
- Store the lard.
Lard can be rendered by different methods, but a popular option is to use a cast iron dutch oven on a stove top. Set the burner on a “2”. When the lard starts to melt, turn it down to a “1”.
If you prefer to use a slow cooker, set it to low heat. Or in the oven, use a heavy pot and set the temperature to 225 degrees Fahrenheit.
You can do it over the fire, but it needs to be low heat and that is difficult to maintain with a fire. I tried this once and it scorched the fat which did not make for good lard. Just remember, low and slow is the way to go!
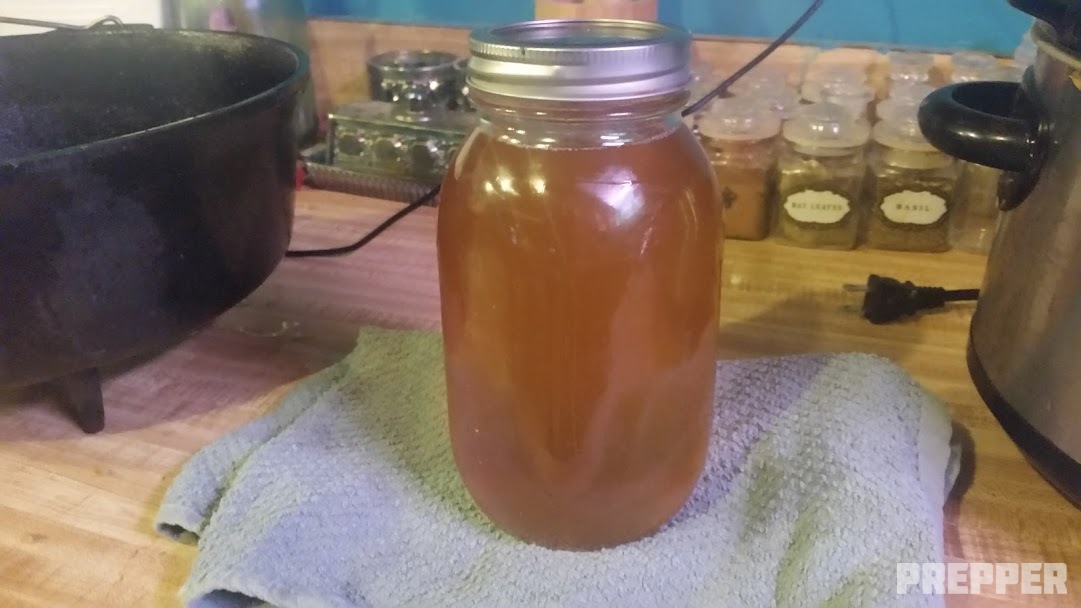
Here is the lard in liquid form after straining. It is a yellow liquid but will firm up to white in color.
Lard will keep at room temperature for a long time, which is how our ancestors did it without any refrigeration. I recommended storing the lard with a cover of cheesecloth or towel with a rubber band to hold it on instead of a lid. This will keep the moisture from being trapped. Today, most keep people keep it in the fridge where it can keep for up to six months. You can also freeze it and it will keep for about a year.
Once the lard has set up at room temperature, then it can be frozen. You can freeze it several different ways: bars, cubes, in tubs, or in any measured amount for easy use. Just cut off what you need and stick it right back in the freezer if you froze it in large amounts. It is recommended to only freeze it once, and not to thaw and refreeze it. You will know pretty quickly if it is bad as it will smell rancid. If it smells, throw it out and make a new batch.
Pure lard will only smell rancid if it is bad, but it doesn’t mold. If it seems to mold then it probably wasn’t strained well or wasn’t cooked down long enough.
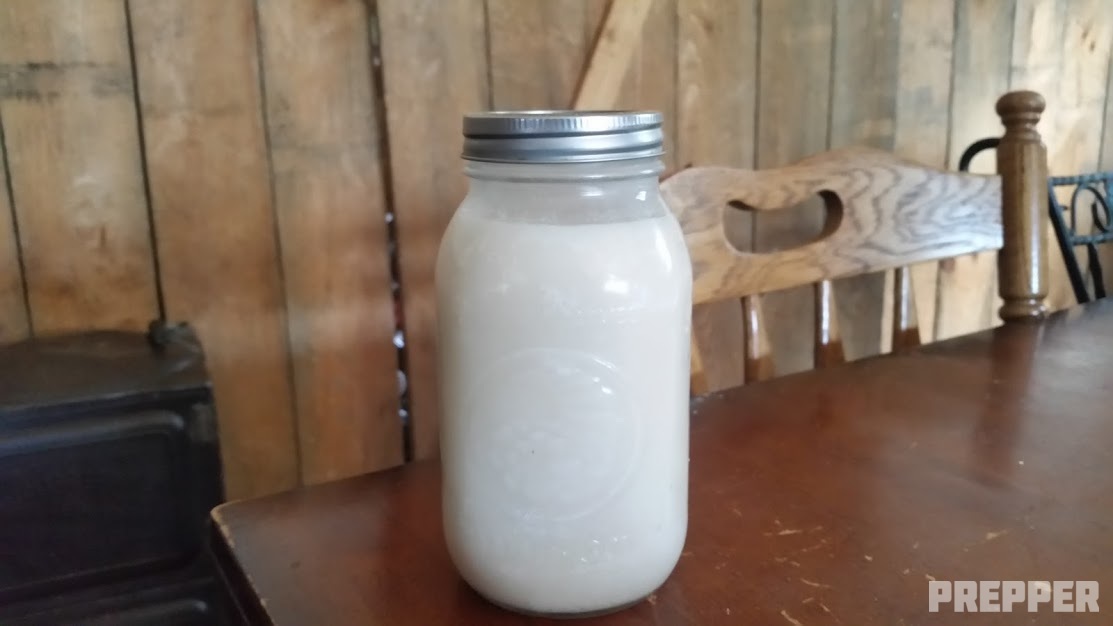
Finished lard…doesn’t it look delicious?
When cooking with lard in place of oil, you will notice a slight difference when measuring it out. It generally takes a bit more lard than it does oil. For every cup of lard, the oil would be measured at 1/8 a cup less. For small amounts of measurements the ratio is the same for teaspoons, tablespoons, and so on.
Cracklins
After the lard is made you will have little bits left that are called cracklins. Lay the cracklins out on a cookie sheet to cool, and you can sprinkle them with seasoning if desired. You can also bake the cracklins in the oven at 350 degrees for about 20 minutes or so. Serve them immediately as a snack or in place of bacon bits on soups or salads. Freeze any left over bits, if any, for later use. Waste not is to want not! In true homesteading fashion it is always exciting when nothing is wasted.
Conclusion
Lard is a natural, whole food that can be made in your own kitchen. Making your own lard is far cheaper than buying it at the store, and you know exactly where everything came from!