Here on my homestead we raise our own meat to butcher. The freezer can fill up pretty quickly. I like to pressure can my meat to save space in the freezer. Electrical appliances will not help preserve your food unless you have a solar generator or a conventional generator with a ton (perhaps literally) of fuel stockpiled for use during a long-term disaster. Pressure canning meat will make it shelf-stable and give you great peace of mind that you can still put protein-rich meals on the table for your family during a SHTF disaster.
I have canned not only meat we have raised, but also from wild game we hunted. We can both various cut of meat as well as meat-based soups. Not all meats can be canned well because the texture doesn’t always turn out very tasty. Canning any variety meat is all processed basically the same way.
Types Of Pressure Cookers
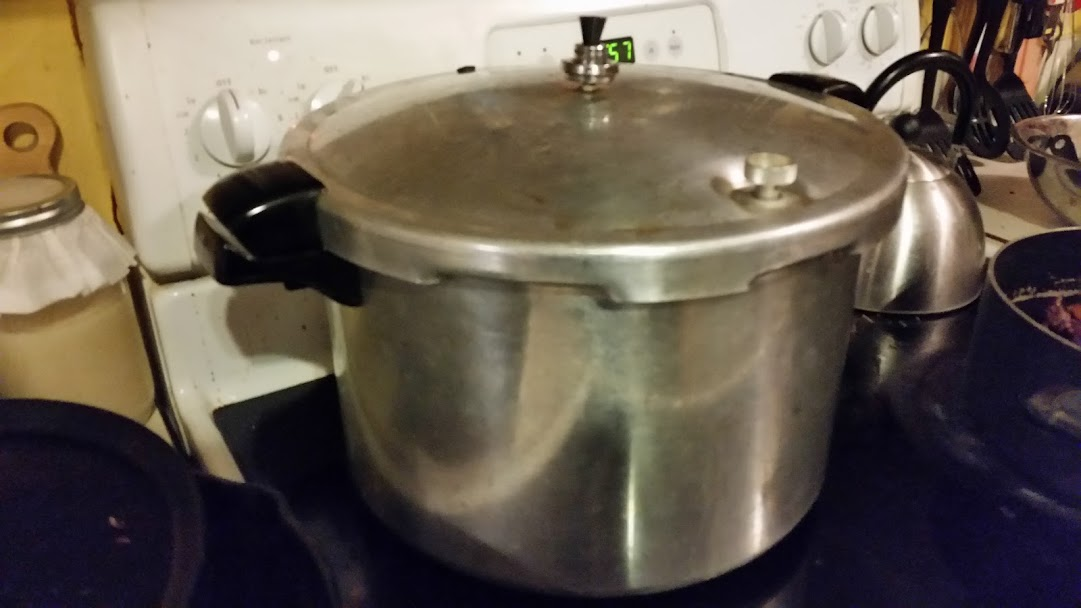
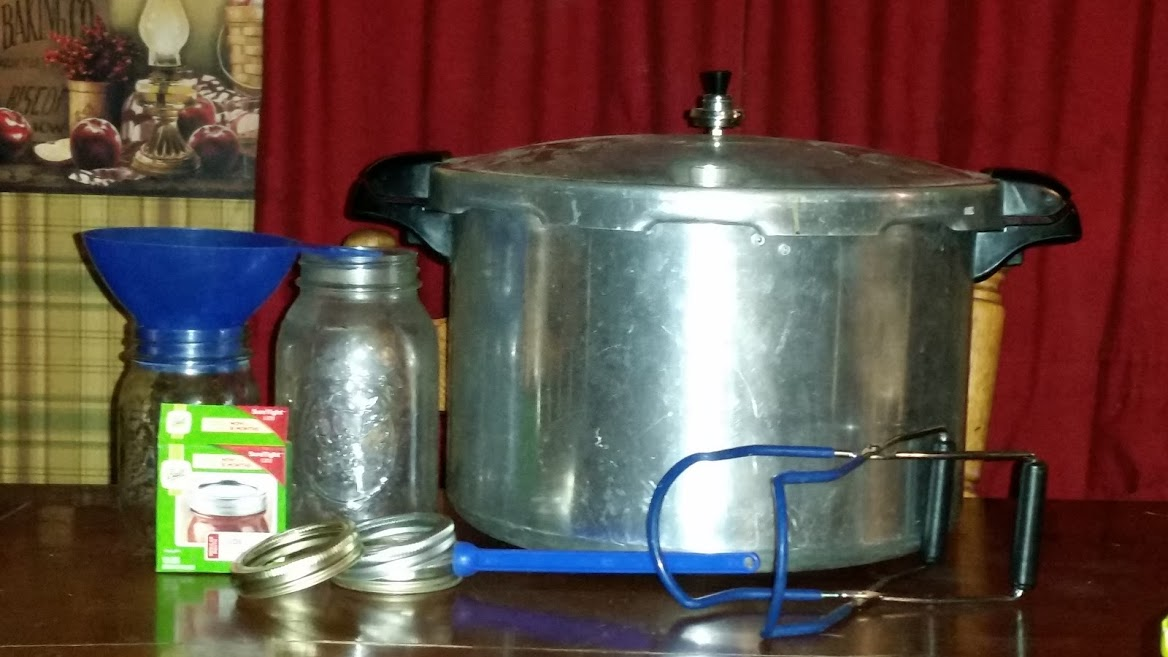
There are different sizes and brands of pressure canners. The brand you use really does not matter. Just be sure that you exactly follow the directions that come with the canner. Prices will vary depending on the type of canner you get. Don’t stress about having the best – start with what you can afford. The jar lifter, funnel, and air bubble remover can be purchased in a kit together or individually quite cheaply and used for water bath canning as well.
If using the dial gauge then you need to have it tested every year to be sure it is working properly. If the gauge is off by one pound psi or more then it will have to be replaced. The jiggler is weighted and needs replaced only if it is damaged, it does not need tested. The rubber seals also need to be checked to be sure that it is in working order.
There are boiling water canners or pressure canners. The type of food you are processing depends on the type of canner you use. Foods that are high in acid at 4.6 or less can be processed in a boiling water canner. Foods that are low in acid levels with a pH higher than 4.6 then they must be processed in a pressure canner. If you are canning a food with high and low acid then the food must be processed in a pressure canner.
Fruits, pickles and tomatoes can be water bathed in the boiling canner. Meats, stews, and green beans need to be pressure canned. It is best to always check a canning guide before you process any food so that you know that you are doing it correctly. I still always refer to my canning book if I am unsure.
Pressure Canning Basics
Getting your jars can be the most costly part of canning. Start your Mason jar collection with buying a few new ones, they will come with lids and rings. The lids and rings can be bought separately also. The bands can be reused so you will not need to buy as many of them to create a solid stockpile. Always look at yard sales for used jars. I have gotten a bunch of jars handed down to me from family members…gotta love cheap and free preps!
Now that we have discussed some of the basic canning rules, let’s get started with canning meat. One of my favorite meats to can is roast. I also can the smoked hock and neck bones for soup beans. Canning this makes dinner much easier as it is already finished and seasoned. When canning soup with meat in it you always need to process it for the meat time.
Equipment
- Pressure Canner
- Jars
- Lids
- Rings
- Jar lifter
- Jar funnel
- Bubble remover.
- Towel
- Skillet
Preparing The Jars
The jars must be hot packed, meaning the jar and meat both must be hot.
- Wash all jars in hot, soapy water.
- Follow directions for the prep of the lids.
- Place the clean jars in an oven at 220 degrees or so or keep them in a pan of hot water to maintain a heated jar. I like the use of the oven as it frees up burner space and is easier for me.
- Place about two inches of water in the bottom of the canner.
Making Broth For The Meat
Use the pan that the meat was cooked in and add one cup of boiling water for each one to two tablespoons of fat in the pan, then boil for two or three minutes. My preferred method is to take a pot with measured out with water and add my own rendered lard. Boil for five or so minutes and then it is done. I like to make a large batch of broth because I will can several jars of meat at once.
Preparing The Meat
- Cut, grind, or chop the meat to desired sizes.
- Cook meat in a skillet until about half done.
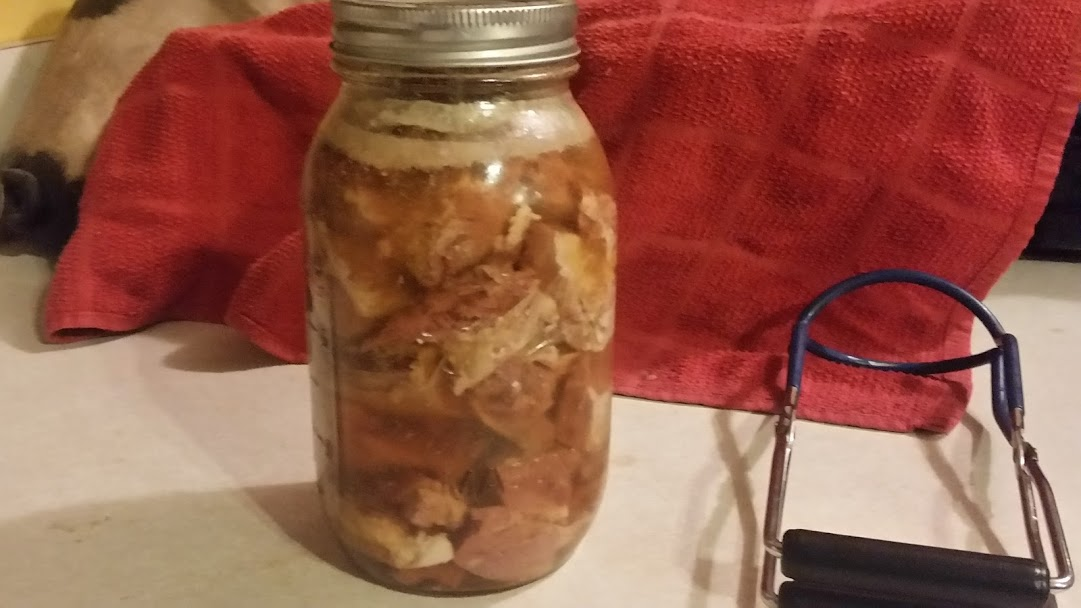
- Place salt in bottom of the jars, half teaspoon for pints or one teaspoon for quart jars.
- Place meat in the hot jars leaving about one inch of headspace.
- Pour hot broth over the meat in the jar leaving one inch of headspace.
- Remove air bubbles from the jars.
- Clean the rims of the jars with a paper towel or rag.
- Place lids then bands on the jar until fingertip tight.
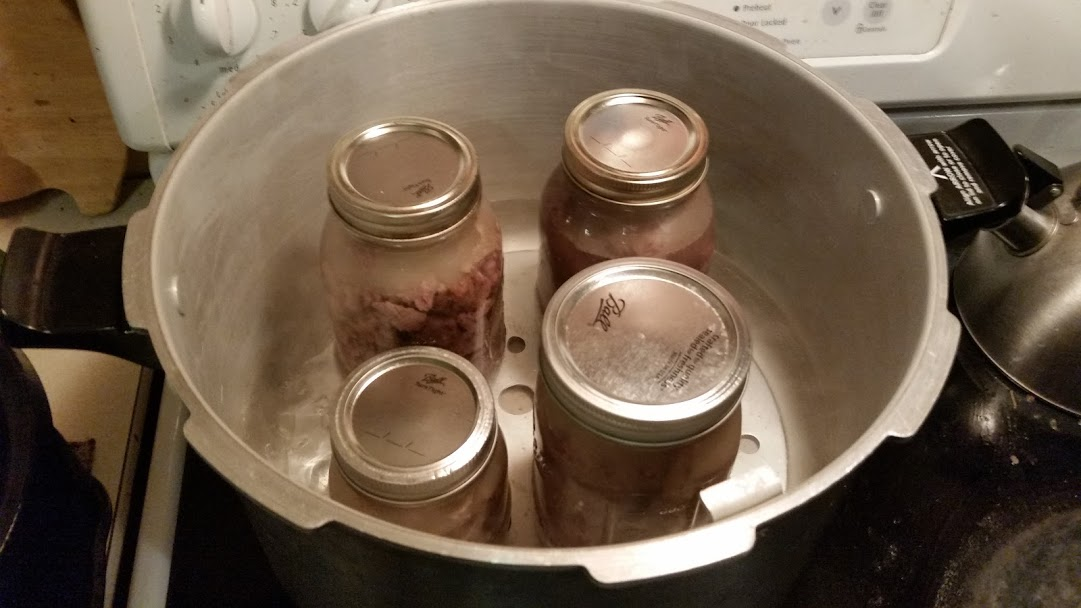
- Place the packed jars into the canning rack in the canner
In the above video I forgot to remove the air bubbles from the jar so I had to open it back up and remove bubbles before processing – or risk ruining meat.
How To Pressure Can Meat
- Process the pints of meat for one hour and fifteen minutes and quarts at one hour and thirty minutes. Both sizes will be done at ten pounds of pressure.
- Once the time has finished remove the canner from the heat.
- After the pressure regulator has dropped then it is okay to remove the lid. Be careful with the steam from under the lid as it can burn you.
- Remove the jars from the canner and place them on a towel.
All that is left now is to listen for the ping that says the jar is sealed and work is safe.
Meat is a low-acid food, meaning the pH is higher than 4.6 on the acidity-alkalinity scale. Meat has little natural acid therefore it has to be pressure canned. To ensure that the spoiling microorganisms in the low-acid food is destroyed it must be pressure canned at 10 pounds of pressure in a pressure canner at 240 degrees fahrenheit. This measurement is at or below 1,000 feet above sea level.
May your meat be tasty and not spoil because you are a homesteading prepper that is ready for when SHTF. Good luck and happy canning!