Planning your prepper retreat might just be the biggest project you undertake in your life. In order to get everything done while staying under budget and maintaining your sanity, you’ve got to start with the basics. I’ve laid out this guide as a practical starting point and “blueprint” for you to follow.
The importance of finding the right piece of land first simply cannot be overstated. Start wrong here, and you will not live long when the SHTF.
Once you have acquired good land to build on, it is time to start planning your retreat. Even if a home or barns already exist on the property, there is still a whole lot of work to do in order to transform a typical agricultural property into a true prepper compound.
Planning and Budgeting
Attempting to build everything all at once is tempting, especially if you have enough money and helping hands to do so, but that might not be the wisest choice. What good will three halfway constructed buildings do for you and your tribe if disaster strikes?
It is far better to first spend some time with paper and a pencil to lay out a rough draft of your survival homesteading retreat long before picking up a hammer. That way you can prioritize your projects without losing sight of the big picture. Make sure that pencil has a good eraser, because you are going to need it.
When you dream, dream big. But when you plan, plan small – or at least within your budget. To avoid getting overwhelmed with too many projects going on simultaneously, break everything out into multiple smaller projects and tackle them one at a time.
Now let’s dive in!
Main House
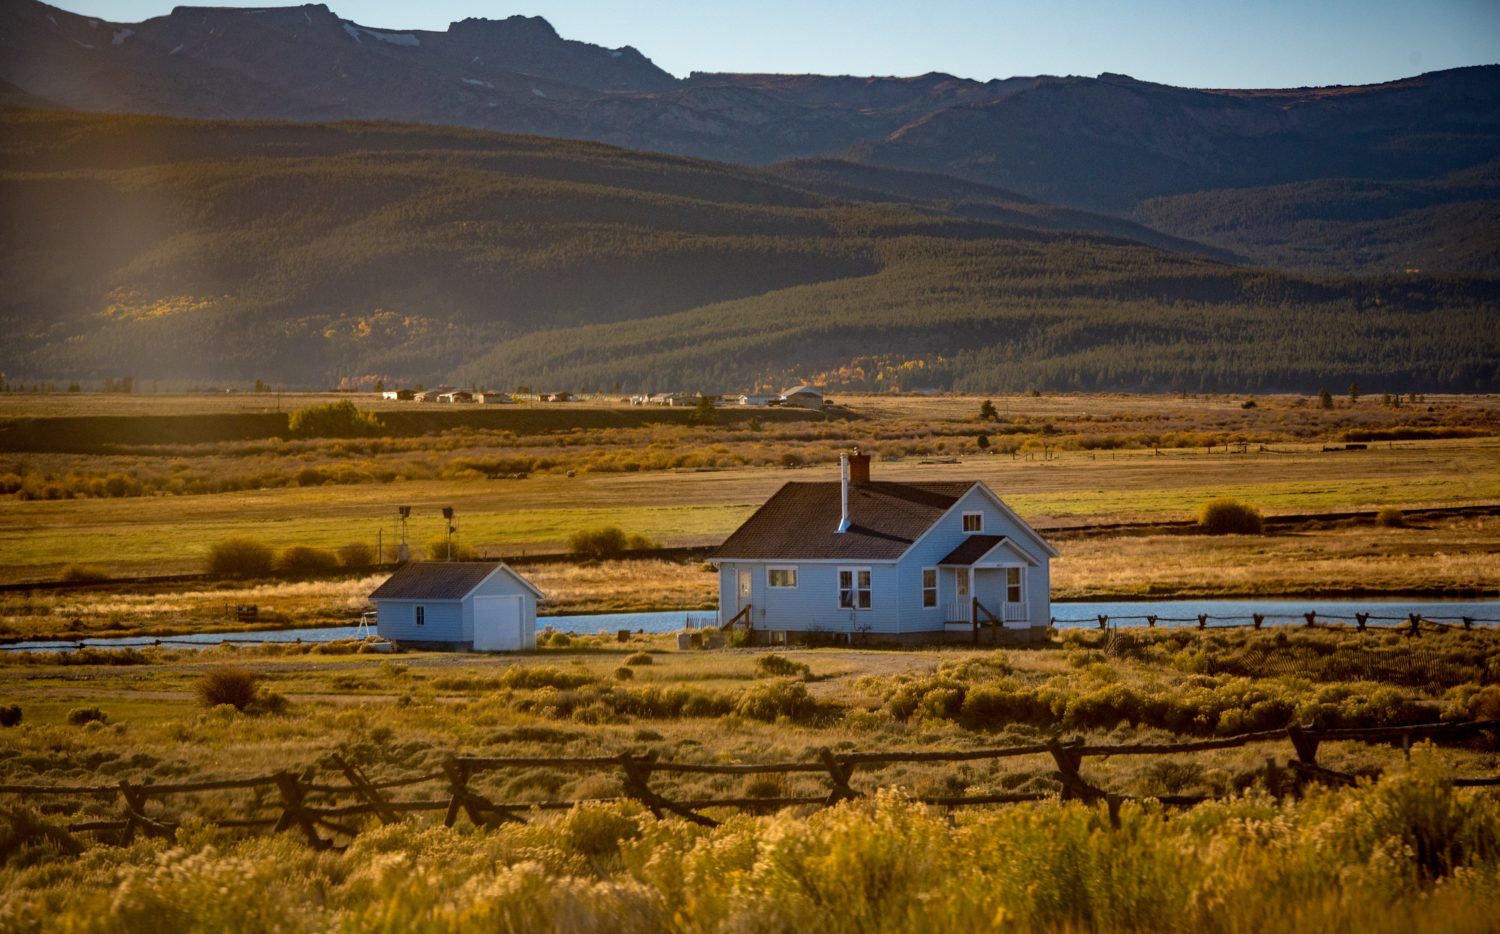 Before acquiring any livestock, purchasing equipment to bale hay or planting a survival garden, you must first focus on building the main house of your prepper retreat.
If you are building the home from scratch, choose materials wisely. Invest in the most bullet-resistant material you can find and afford when purchasing or upgrading exterior doors and shutters.
Keep the thought of raging wildfires or unchecked man-made fires in the forefront of your mind. During a long-term disaster, firefighters will not be able to rush to your aid. Building a home out of poured concrete walls or cinder blocks, even if you cover them with typical attractive siding, will help fireproof your dwelling. Concrete floors and metal roofing will further protect the home from both fire and wind damage.
If you have a big family or belong to a mutual assistance group, a large house and/or auxiliary living quarters will be necessary. We all can only buy as much house as we can afford, so adopt a minimalist attitude if you must create sleeping areas and storage space for multiple families inside a modest home.
Bedrooms
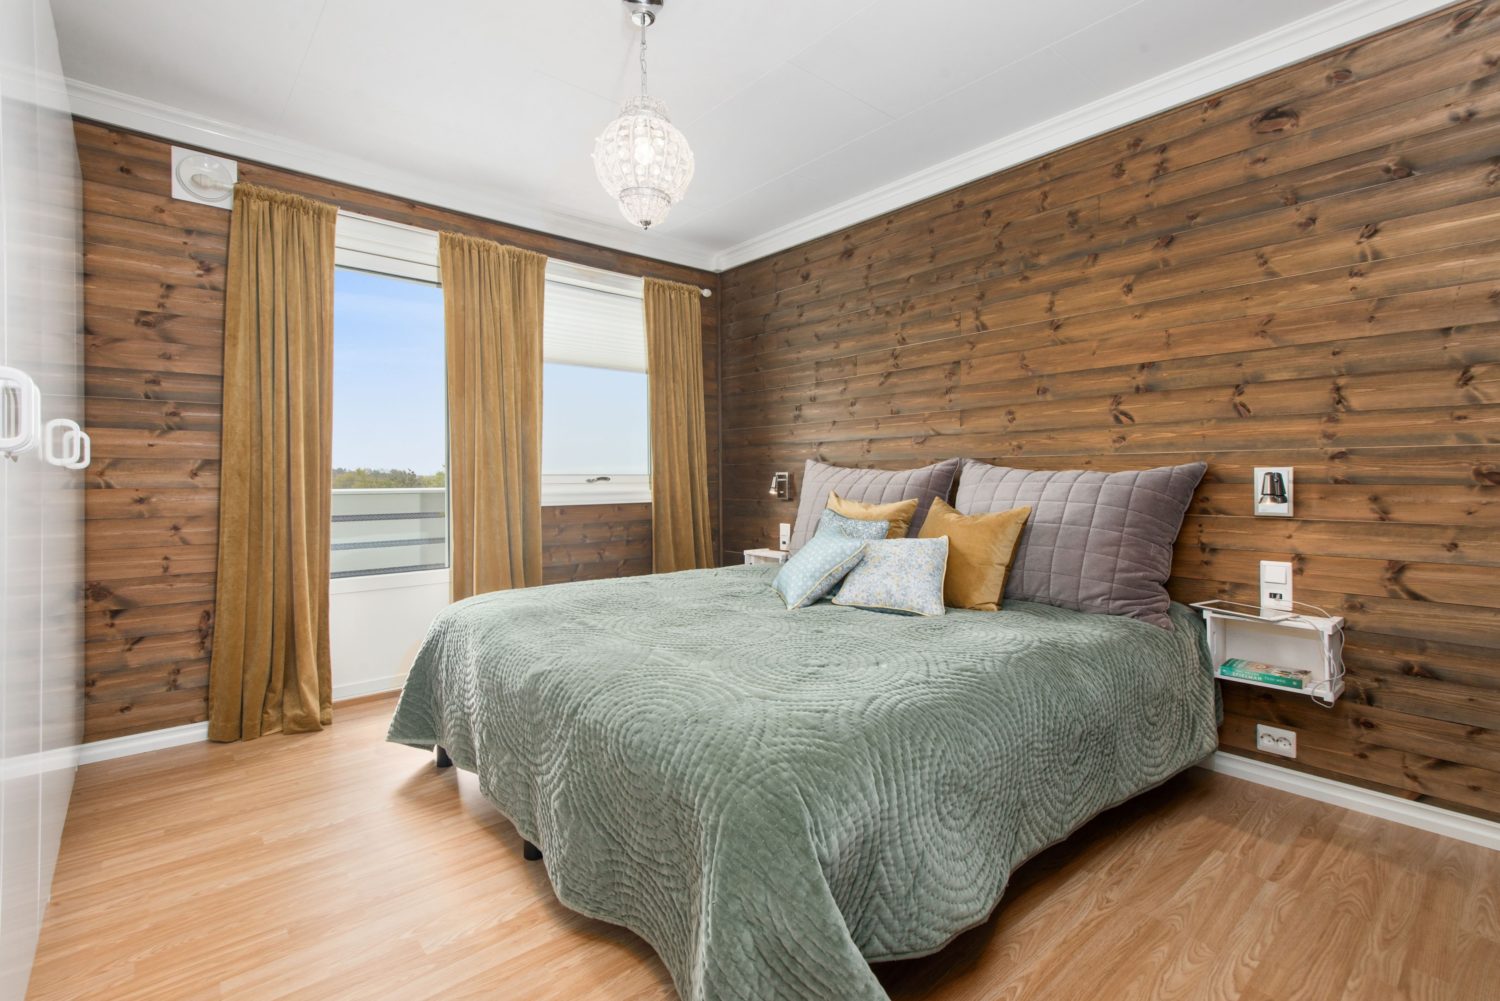 Purchase or build bunk beds to enhance sleeping space inside a single room. Most bedrooms can accommodate two sets of twin bunk beds, but bunk beds with a full bottom and a twin top offer more functional sleeping space for a family.
Instead of taking up valuable bedroom floor space with dressers, use the space under the beds for storage of clothing and personal items. You can also consider hanging canvas bags on the walls to store the same items, and mount closet hanging poles to a chain that can hang from the ceiling to hold coats and similar items.
Place storage bins with drawers inside closets to make the most of available space there. Remember how quickly children grow and stock up on gently worn clothing, outerwear, and shoes at yard sales to store inside the home for use during a long-term disaster. Stock up on diapers or make your own cloth diapers, and store them in the bedrooms or other storage area as well.
Bathrooms
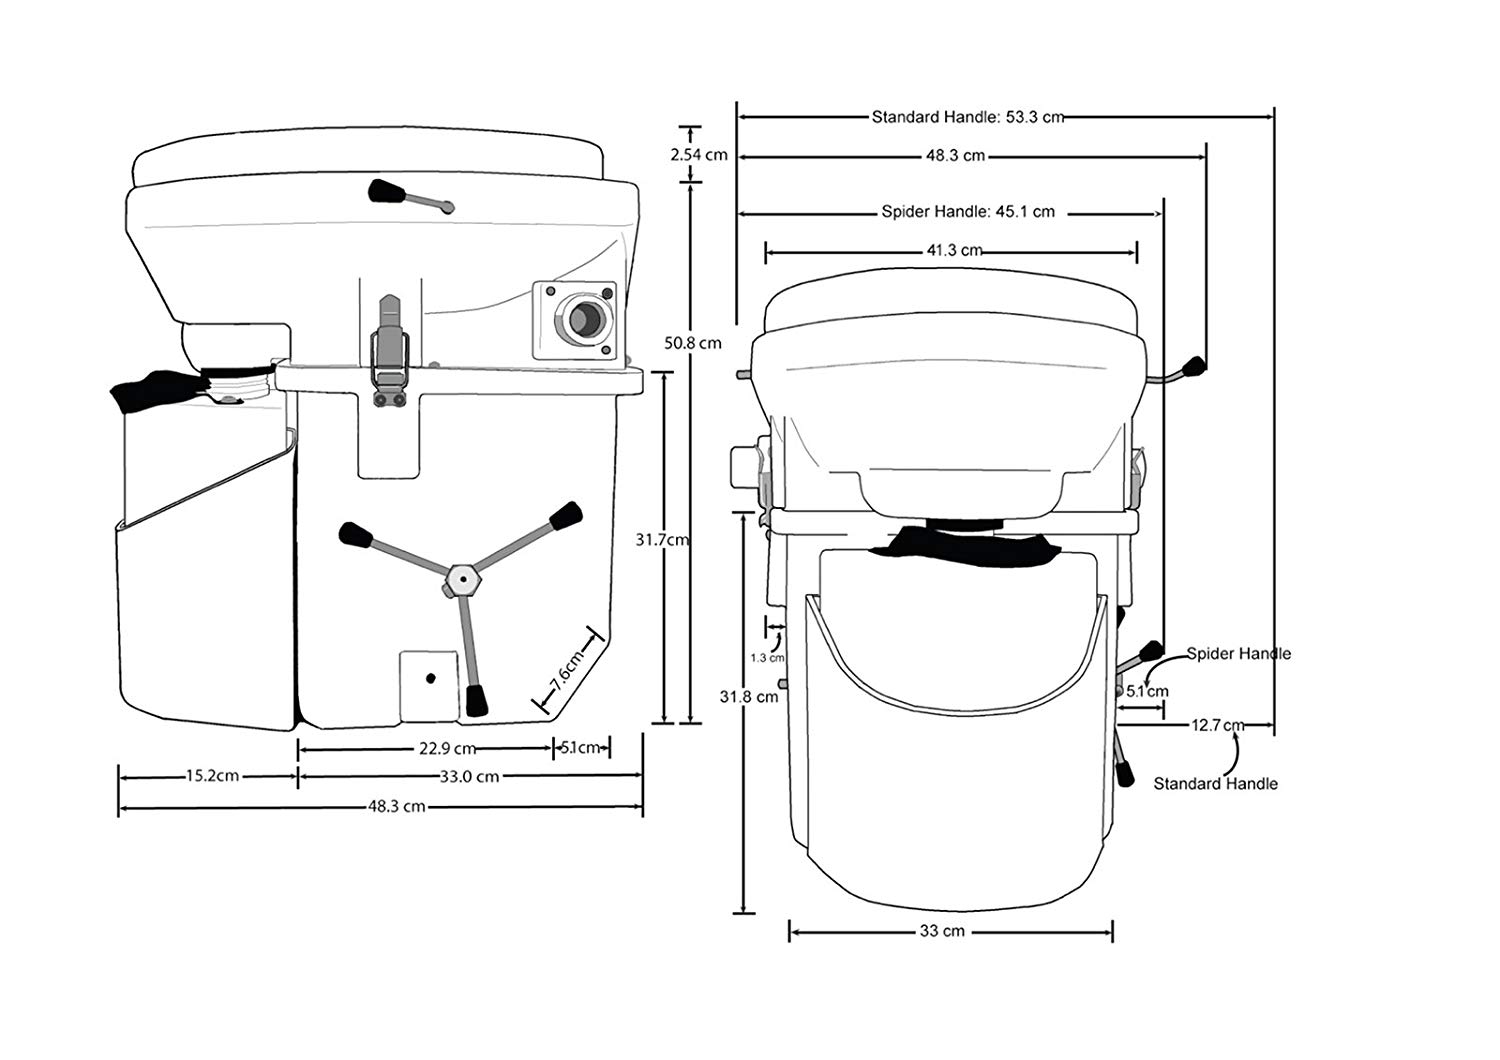
The main house should include multiple bathrooms, ideally equipped with composting commodes.
Kitchen
Storage and work space should be a top priority when designing or upgrading the kitchen. Food preservation takes up a lot of space after a bountiful harvest, as does storing the food in a climate controlled environment.
Living Room
The living room should be one of the largest areas of the main house. This is where the family will gather not only to relax but also to use as a meeting, planning, and homeschooling space during a SHTF scenario.
The living room can also double as another sleeping area. Invest in a sectional couch that has lay-flat recliners built in so they can be used as beds, or buy several sleeper sofas to provide ample seating and extra sleeping space.
Enclosed Porch
Enclose a porch and turn it into a secret greenhouse as my prepping mentor Rick Austin has so successfully done in the hills of North Carolina. This will allow you to grow crops year around, even dwarf fruit trees and non-native crops – and keep them close.
Basement
The basement of the main house can be used not only as a massive storage space, but as extra living quarters, a makeshift root cellar, and as an exercise area for the family to use to keep in strong shape and burn off stress when going outside because of weather or unsafe conditions, is impossible.
Communications Center
Set aside one area inside of your home to use as a communications hub. All 2-way radios should be stored and charged here, a map of the survival retreat and perimeter duty schedules posted clearly on the wall. Some type of low-tech alarm should be quickly reachable both indoors and outside of the communications center so tribe members can be alerted immediately if trouble arises.
Medical Clinic
![]() This is one of the most important areas you can construct on your survival homestead. Ideally, the medical clinic should be in a separate but attached space from the main house to avoid the transmission of germs. Even the common cold can become deadly during a long-term disaster when you cannot call 911 for help.
This is one of the most important areas you can construct on your survival homestead. Ideally, the medical clinic should be in a separate but attached space from the main house to avoid the transmission of germs. Even the common cold can become deadly during a long-term disaster when you cannot call 911 for help.
There should be an outside entrance to the medical clinic and an interior double-tiered door entrance shielded in plastic sheeting that can be closed and clothing changed in if necessary, after walking through one of the doors and before going through the next. There should be ample space to store medical preps.
Keeping the home clean on a daily basis will help keep your family or mutual assistance group from becoming statistics.
Garage
An attached garage can be used for storage, 3-season sleeping quarters in many climates, as a woodworking shop, butchering area if space and funds do not allow for a dedicated building for processing animals, and as a quarantine or medical clinic if again, funds and space do not allow for a separate space for this function before disaster strikes.
Heating the Main House
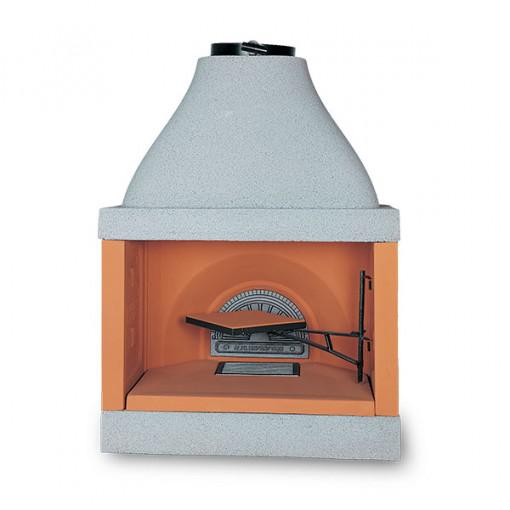
A wood burning stove will heat a home far more efficiently than a fireplace. If you are building a new home, create an open floor plan to allow air to move more effectively through the house. Place two wood burning stoves on either end of the living room and kitchen area. Wood burning fireplace inserts can be purchased for less than $1,000 to upgrade a standard fireplace into a better heat producer and off grid cooking option.
If you are upgrading an existing main house, revamping it with at least one wood stove should be a priority.
Wood burning fireplace inserts, like the example above sold by WoodCookStove.com, can turn an ordinary masonry fireplace into a stable and enhanced heat producer for any room of your home. During a long-term disaster you should expect the power grid to ultimately fail and prep accordingly.
Outbuildings and Outside Areas
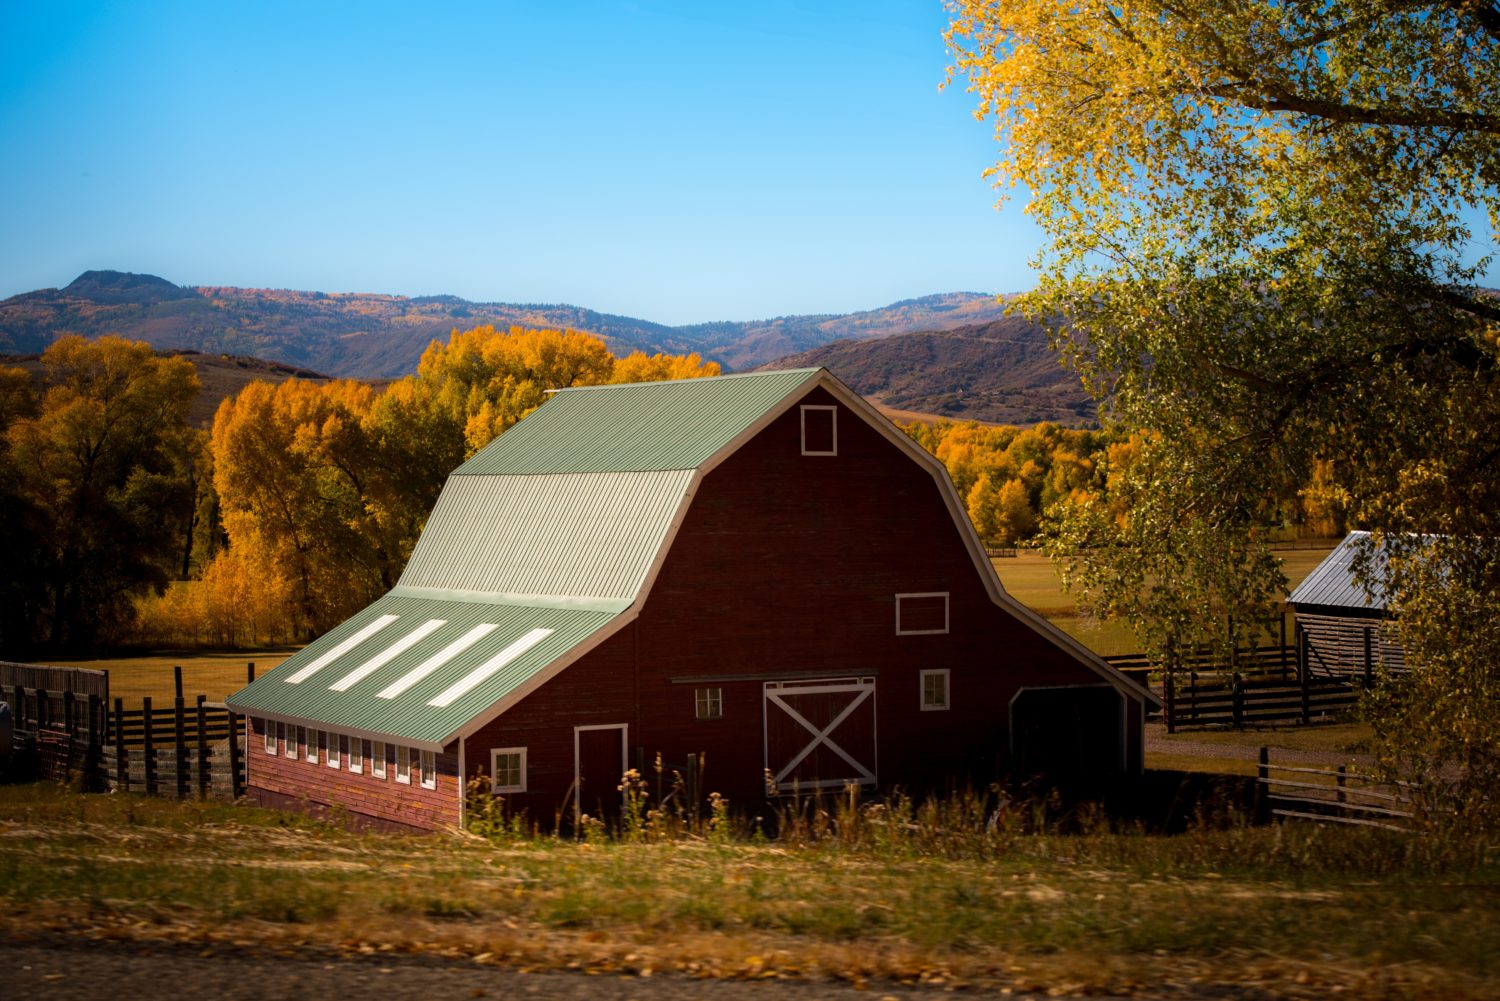 Every homesteading survival retreat, regardless of acreage, must include outbuildings and dedicated spaces for a series of specific and essential functions. We already discussed the most important components of a fully-functional main house. Now we are going to build on that foundation to incorporate gardening, work, security, and enhanced emergency medical capabilities.
There is no ideal size for a prepper retreat, but how much land you buy and the terrain it is comprised of will dictate the best and most feasible placement for the main house and all outbuildings.
One of the most important things to remember when creating the layout for your prepper retreat is to keep clear lines of sight between all outbuildings and the main house.
When we began our nearly three year search for the perfect survival homesteading retreat land, we were searching for 15 to 20 acre properties. In the end, we purchased a 56-acre property because we lucked into a “must sell” situation on a fixer-upper and because the terrain and location of the land vastly improved our ability to defend it.
If you are going to live full-time or bug out to a survival retreat as big as ours (especially if it is wooded), cutting roads for ATVs and horses is a must. You will also want to forge covert foot paths throughout the property to all outbuildings, food and water sources.
Garden
Ideally, you should have multiple growing plots to better secure your food source from both human and animal predators. Never grow food in a spot that is visible from a road. Incorporate container gardening into your prepper retreat design no matter how much acreage you have – backups for your backups is always a good idea.
Greenhouse
You do not need an expensive and large glass greenhouse. In fact, you should stay far away from such an obvious and typical design, especially if you are attempting to turn a suburban home into a bug in location or live on land where neighbors can see your property.
You’re better off converting an enclosed porch into a camouflage greenhouse that generates off the grid energy and allows you to grow small fruit trees and non-native plants inside, all year round.
Butcher Shop
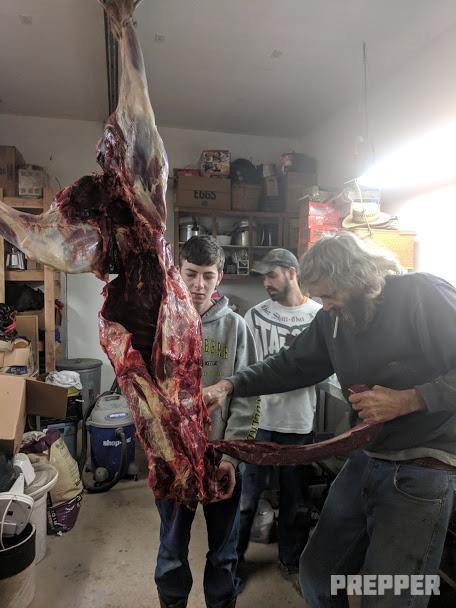
Our survival retreat came with an attached butcher shop and all the equipment and tools – even a lift to haul heavy carcasses inside to the walk-in cooler, included. You do not need to go this ornate when creating a butcher shop, but a space and the tools (especially manual ones) to be able to butcher your own meat during a long-term disaster, are essential to the protein consumption of the family.
LP/OPs
Listening and observation posts should be kept hidden or fortified as much as possible. A watchtower that can be seen by neighbors or the road definitely screams “preppers live here”.
You can conceal the true use of an exposed, tall LP/OP by dressing it up to look like a second-story porch or rooftop entertainment area by placing some typical patio furniture and similar decor in the space. More obscured LP/OPs could be made out of camo painted wood, in earth berm fashion or a small camper hidden in a wooded area. Each LP/OP should be stocked with enough food and water to sustain the occupants on duty for at least three days, along with some type of off grid heating system and medical supplies.
Barn
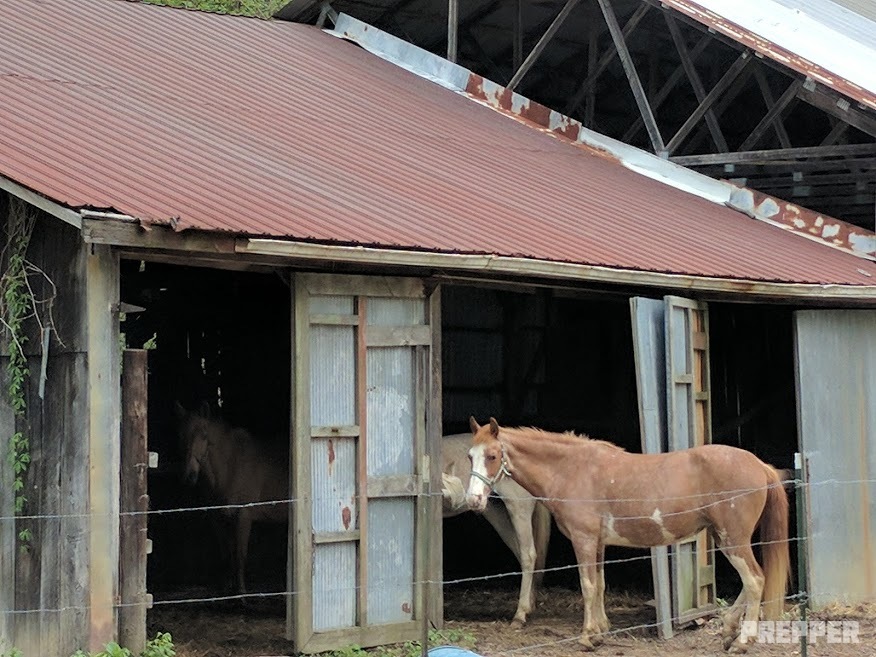 The medium and large livestock you are raising must have somewhere to escape the weather. You also need to be able to store bags of grain, hay (square bales must be kept under cover) straw, and livestock first aid supplies. The barn should be kept as close to the home as possible so you can protect your animals during a long-term disaster. Consider pasture placement carefully to avoid exposing the livestock to human predators during a SHTF event, as well.
Blacksmith Shop
Learning how to become a blacksmith should be on your list of doomsday training plans. You can construct a homemade forge for less than $100 if you have an old empty propane tank, well bladder, BBQ grill, or metal barrel among your useful junk stockpiles.
Poultry Coop
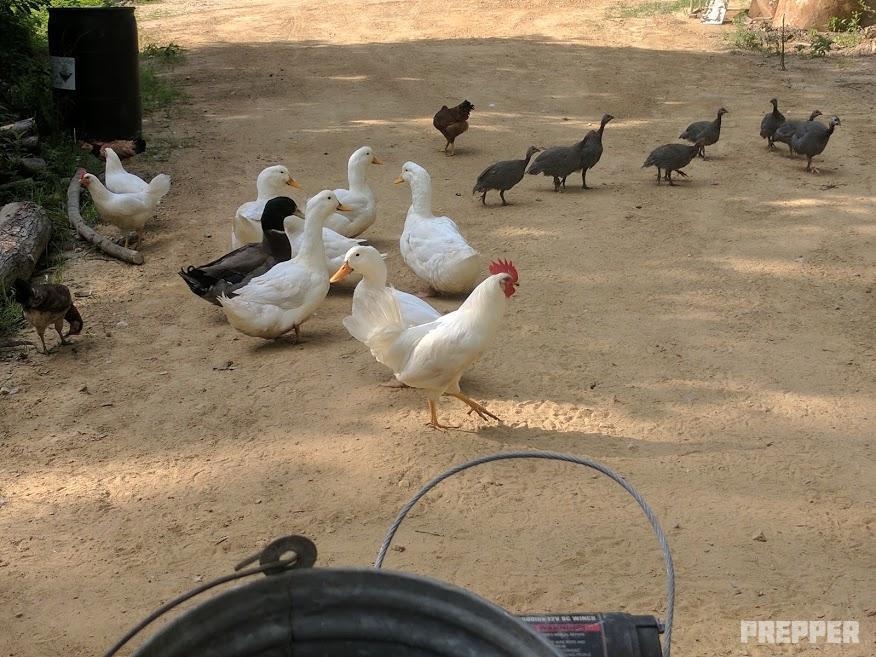 You will also need a secure coop and run to keep your chickens, ducks, and guineas so they can lay eggs and provide meat throughout any long-term disaster. Take the time and spend the money to build a large run out of hardware cloth and not chicken wire. This will better protect them from predators and ensure there is adequate room to roam, which will deter the spread of disease among the flocks.
Root Cellar
Preserving the food you have grown or raised on the prepper retreat will require ample space and proper storage temperatures.
Smokehouse
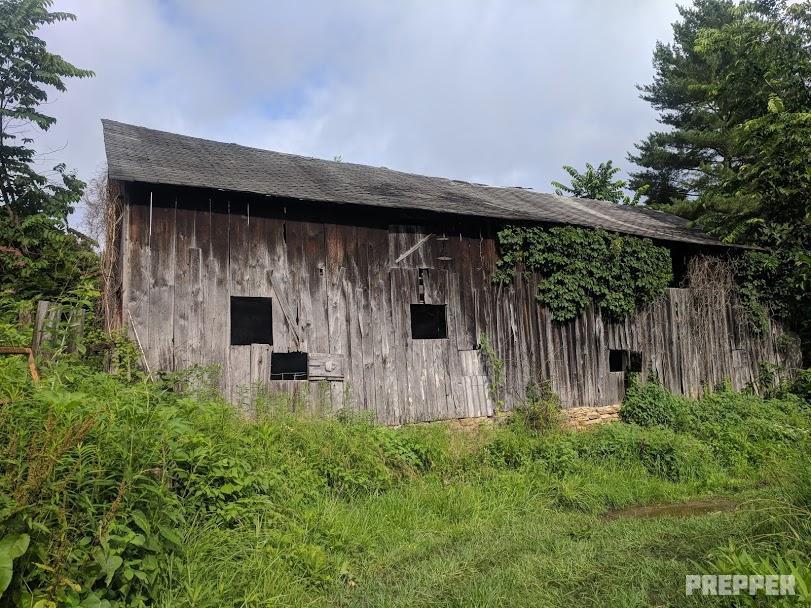 Build a smokehouse out of scrap lumber so you can smoke beef, pork, fish, and poultry to preserve it for safe eating for many years to come.
Icehouse
Building an ice house does not need to be an expensive task, but it must be timed properly in order to set up a sustainable off the grid structure. You can turn a common metal shed into an icehouse if you line it deeply with Styrofoam and then create a layer at least five inches deep of sawdust on the floor.
Next, fill buckets will water, securing them with a firm-fitting lid and set them outdoors during the winter until they turn to solid ice. Use the buckets placed in rows and separated by boards to create shelving units to chill and hold the food being preserved. Shovel a layer or two of sawdust on top of each shelf to help prevent fluctuating temperatures that would allow the ice to thaw. How many months the buckets will take to thaw will depend on the climate in your region.
Food Forest
Rick Austin uses the ancient food forest technique to sustainable grow food in a low maintenance manner right under the noses of prying eyes, leaving them clueless that they are wandering right by a bounty of crops.
Beekeeping
Setting up a beekeeping area will not only supply you with delicious and medicinal honey, but also help your crops and apothecary plants thrive.
Armory
Storing all of your weapons and ammo in one place might seem like a dangerous proposition, but constructing an ultra-secured armory should still be considered along with backup caches hidden and buried elsewhere on your property. You should also create a space near (but not inside) the armory to serve as a reloading station should you need to replenish your ammunition supply.
Summer Kitchen
Build an off grid kitchen outside of the main house like our early ancestors did. This area can be used for cooking and canning during the summer months to keep the inside of the home cool, and then used almost exclusively to prepare food during a long-term disaster when alternative types of fuel become necessary. A cast iron stove like this one could be used in a summer kitchen or an off grid survival kitchen to cook and bake food, boil water, and pressure or water bath can meat and garden crops.
Wood Shop
Create a wood shop area inside an existing garage or build a dedicated space for the building and repair of important interior and exterior goods and buildings. Make sure to stock the wood shop with manual tools to use if the power grid fails or your fuel stockpiles run dry.
Agricultural Equipment Shed
Build a lean-to or an entire barn style structure to conceal and protect your farming and gardening implements from thieves and the elements. Even if your survival retreat is on smaller acreage, a sub-compact rotary tiller like the one shown in the video below can be used to till a large garden plot or turn a spacious backyard into a survival garden.
Pond
Redundancy is always important to preppers, especially when it comes to water. Even if you already have an underground well, rainwater collection system, and an existing creek or pond, find a spot on your property that is naturally conducive to digging a pond and create another one for livestock use. This can be used by both animals and family during a drought or other long-term disaster. It will be far easier and less expensive to retrieve water from a pond than a well, which generally has to be converted from an electric functioning system or relies on a windmill and solar panels to pump the water. The weather and seasons should never be relied upon to cooperate with your vital needs.
Apothecary Patch
Learn how to grow your own natural medicines and to forage for wild edibles and “weeds” that can also be used to treat illnesses and injuries. Growing your own pharmacy, preserving what your grow, and making space to store all of the natural medicines could save your life one day.
Not noted above but still an important consideration for any retreat is the establishment of a campground area. This will be critical if your mutual assistance group or extended family will also be coming to ride out the apocalypse at your location.
Building Materials
A prepper retreat is only as sustainable, durable, and strong as the materials used to build it.
The building materials you choose to use to build the main house and outbuildings on the prepping homestead must protect you and your stockpiles as much as possible from not only potential invaders, but Mother Nature’s wrath as well. Remember that you will not be able to run out to Lowe’s or Home Depot to buy extra glass, boards and shingles.
All building materials should make every essential building on the survival retreat as weatherproof, flood proof, fireproof, and firearms resistant as humanly possible. This includes the doors, windows, and shutters.
Walls
Build all structures from either poured concrete walls or concrete block. Both the interior and exterior walls can be covered with typical decorative materials like vinyl siding, drywall, and paneling so the austere building materials are more pleasing to the eye and help conceal the extra-secure nature of the buildings.
Floors
The floors should also be constructed of poured concrete. Livestock barns and pens should be dirt, and chicken coops typically have a wood floor to deter burrowing predators. Attach sheet metal to the underside of the wood floor and exterior of the coop, or build it entirely out of metal to protect the habitat from fire damage
Roofing
Even though it will be more expensive, invest in metal roofing instead of shingle roofing to protect the retreat buildings from fire and wind damage. This will also help make it more resilient against intruders.
Chimneys
Encase chimney openings in hardware cloth to prevent explosives from being easily tossed inside, and to give some protection against burning embers from falling inside.
Fire Breaks
Dig a fire break around all buildings to further protect them from being exposed to heat and flames. This is incredibly important during a SHTF event when you cannot call local heroes for help.
Perimeter Security
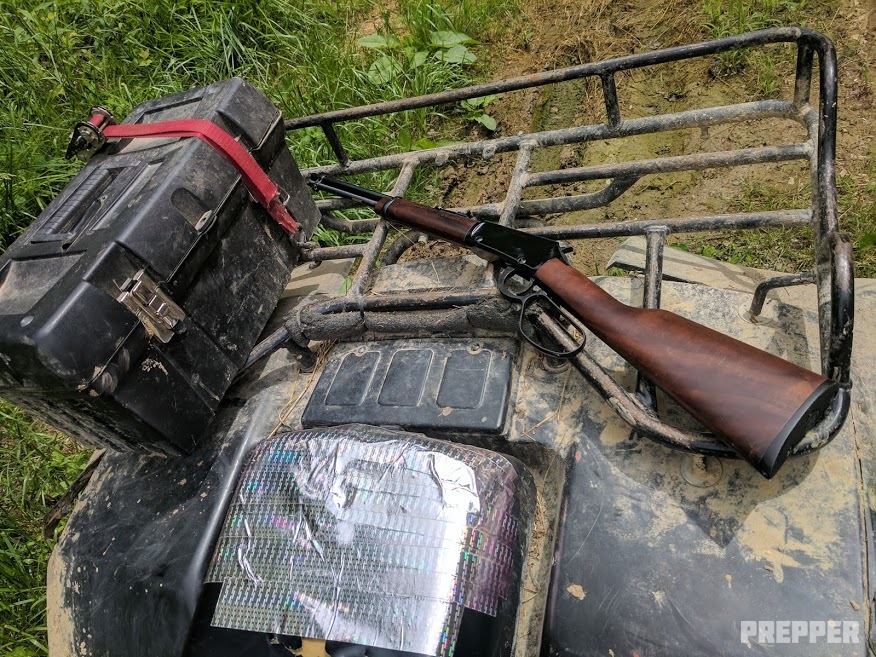 You must place perimeter security and fencing at the top of your budget and expect it to be both a large and ongoing expense. Almost all types of fencing will need to be mended or replaced over time due to deer and other wild animals pushing through it and weather related issues.
Your retreat should be designed with multiple layers of fencing that is sturdy enough to keep livestock in and human predators out. If you have not yet made the crucial decision to relocate to a rural area to vastly enhance your chances of survival, putting up even a single layer of fencing might not be possible. If you live in a small town or the suburbs, you should stockpile fencing, posts, post hole diggers, post pounders, and multiple pairs of work gloves so the fencing can be erected in pre-planned spots as quickly as possible.
Using the most sturdy, thick, and tall decorative fencing as a first line of defense until other layers can be added as disaster strikes is highly recommended.
Fencing Options
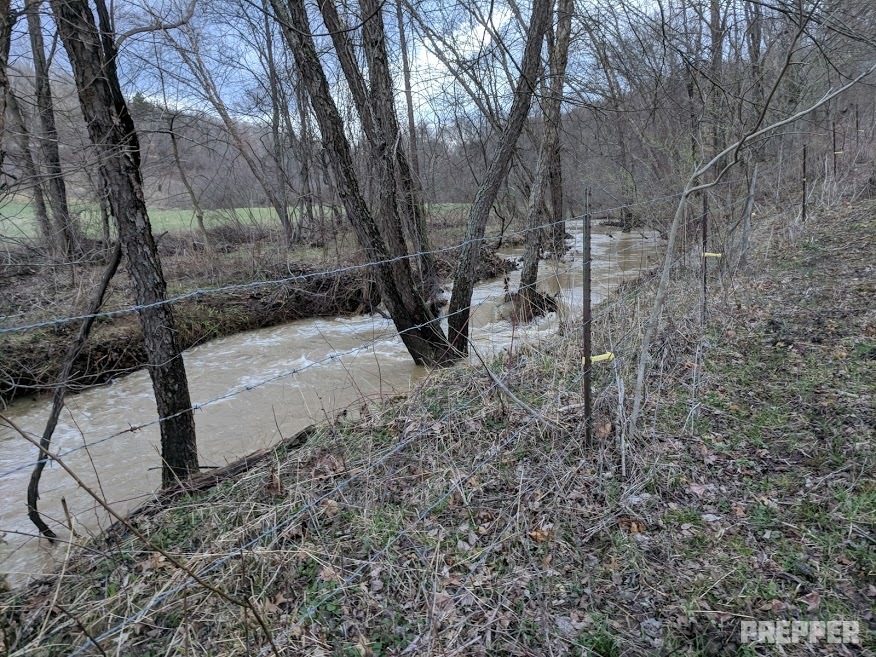 Barbed Wire
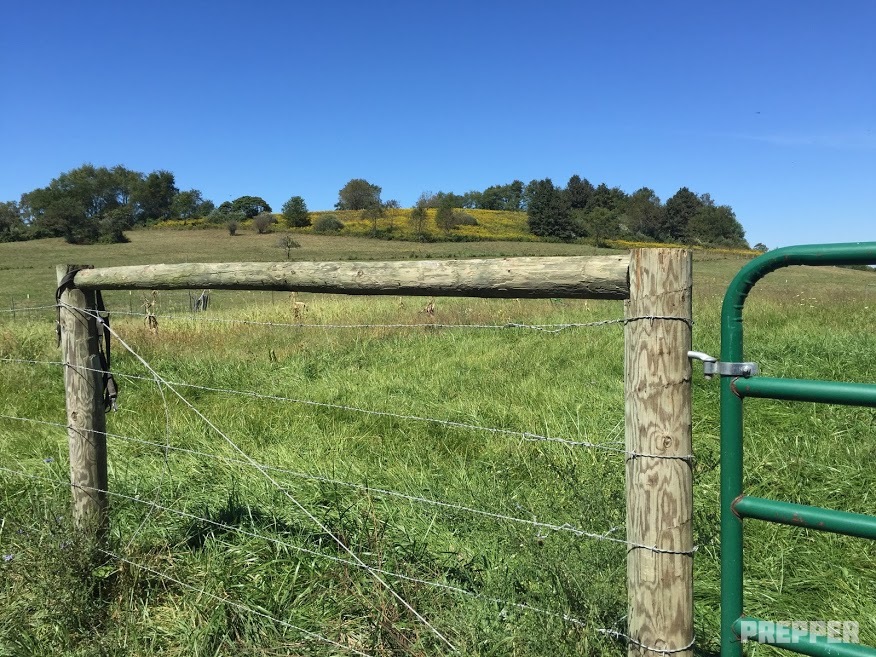
This type of fencing will blend in completely in a rural area. It can be attached to wood or metal posts in multiple rows to make climbing or cutting through it both time consuming and painful. Metal 8-foot “T” posts used to support barbed wire should be pounded at least two feet into the ground and wood posts should be pounded three feet into the ground.
Depending upon the terrain, sinking the posts in concrete will not be necessary, but would definitely increase the sturdiness of the posts and help protect them from being removed easily.
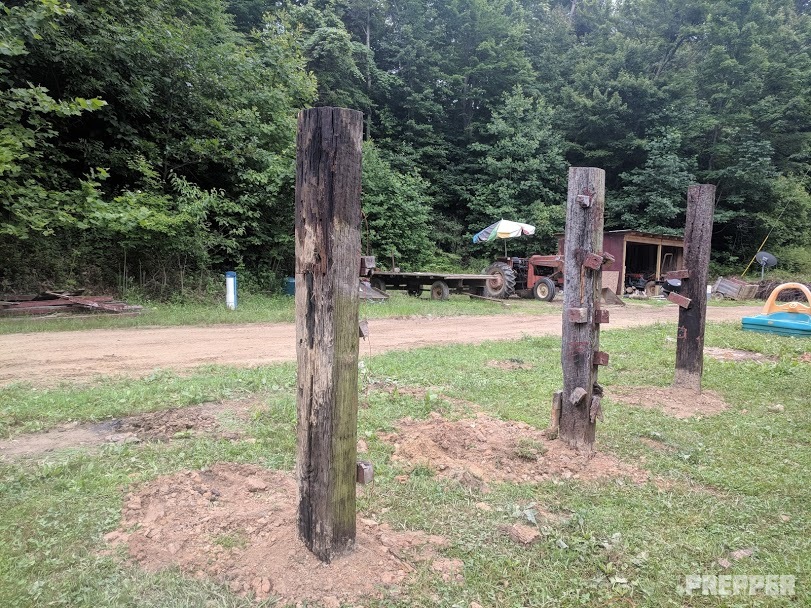
Old railroad ties make sturdy gate and fence posts.
Electric Fencing
There are multiple varieties of electric fencing, ranging in gauge and from wire to “tape” type of materials. To achieve optimal perimeter defense results, use multiple layers of barbed wire combined with electrical fencing (powered by a solar charger). While electrical fencing is significantly cheaper than barbed wire, it is not as durable and will require more repairs due to deer running through it and flooding.
Wood
This might be the most expensive type of fencing, unless you can harvest, dry, and plane your own wood – but it is highly durable. The downside to using wood fencing revolves around how easy it is to maneuver over or through. To increase perimeter defense attributes on your prepper retreat, line wood fencing with either electrical fencing or barbed wire fencing – or both.
Razor Wire
Installing this type of fencing on your survival homestead would definitely attract attention if it is visible from the road or by neighbors. Using razor wire on layers of fencing that run through secluded converted portions of your land or stockpiling it for immediate installation when the SHTF, is likely the best option. This is the type of wire you need to add if the world is going pear-shaped.
Brick or Block
This expensive and visually pleasing type of perimeter fencing is also highly durable. If constructing this type of fencing on at least the road frontage portion of the prepper retreat, encase open pipe posts that are level with the surface of the wall. This will allow you to slide another pipe or sink a “T” post in concrete inside during a long-term disaster in order to install barbed wire, razor wire, or electrical fencing above the brick or block wall.
Thin Fencing
Chicken wire, hardware cloth, and bird netting will not keep human or even large animal predators out, but they can effectively be used to fill the void between rows of barbed wire or wood fence rails to increase the level of difficulty involved in sliding through the more secure fencing.
Gates and Surveillance
Do not use inexpensive spring gates to secure areas in your perimeter or layers of fencing. Invest in heavy metal gates that cannot be easily pushed through and can be locked. Fence posts, regardless of what type of either fencing or supports are used, should be placed no further than 10 feet apart.
To further enhance security on the prepper retreat, invest in both high-tech and low-tech surveillance. Trail cameras and closed circuit security cameras powered, solar motion detector lights, and noise or light inducing booby traps around the property will help to alert you to a potential threat on the land.
Conclusion
Building your dream survival retreat is by far the most exciting and effective way to achieve lasting self-reliance for yourself and your family. As you can see, it will require lots of research, planning and smart prioritizing to make the dream a reality. Just follow this general blueprint and focus on one project at a time. Be prepared for a long journey with more than a few bumps along the way. Just be patient, and remember that independence is never won easily (or cheaply)!
